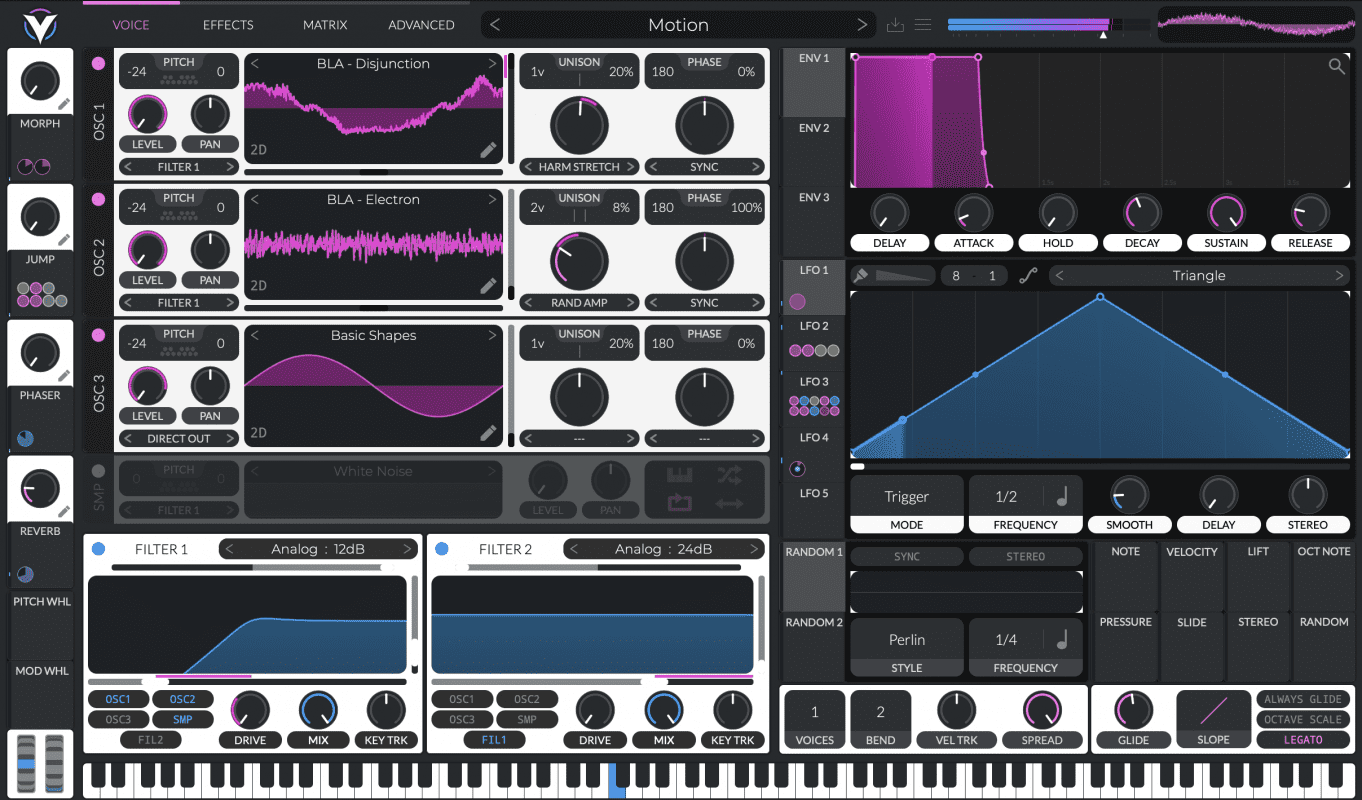
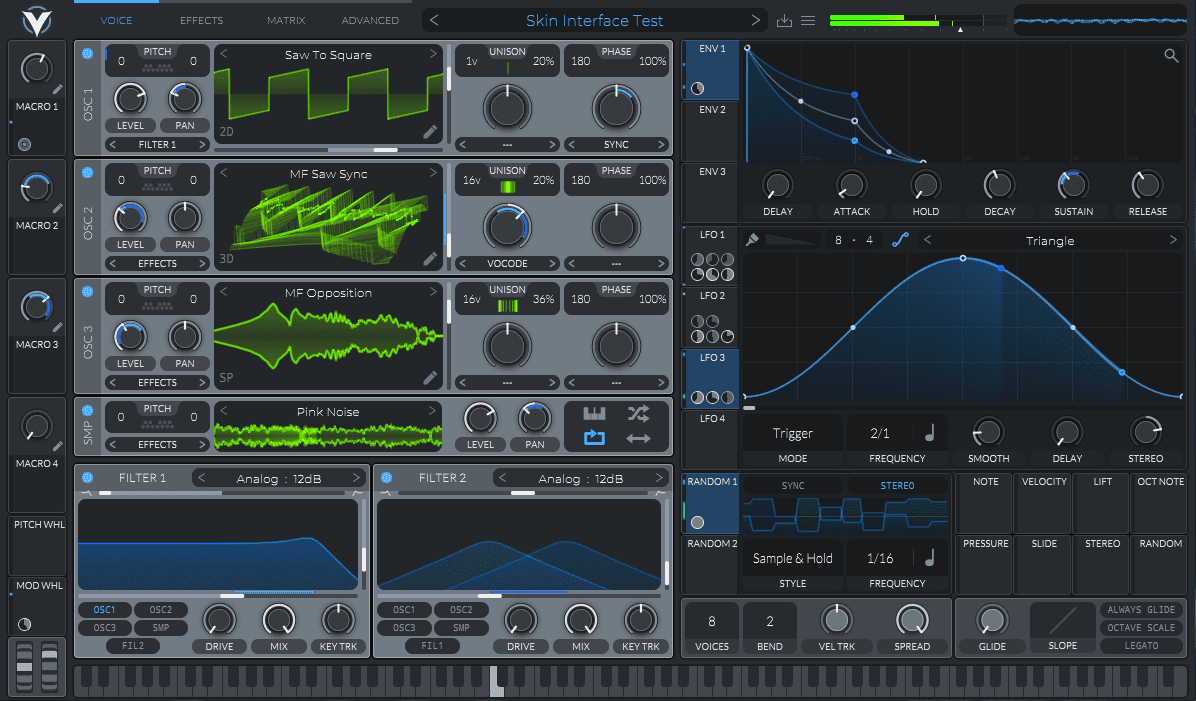
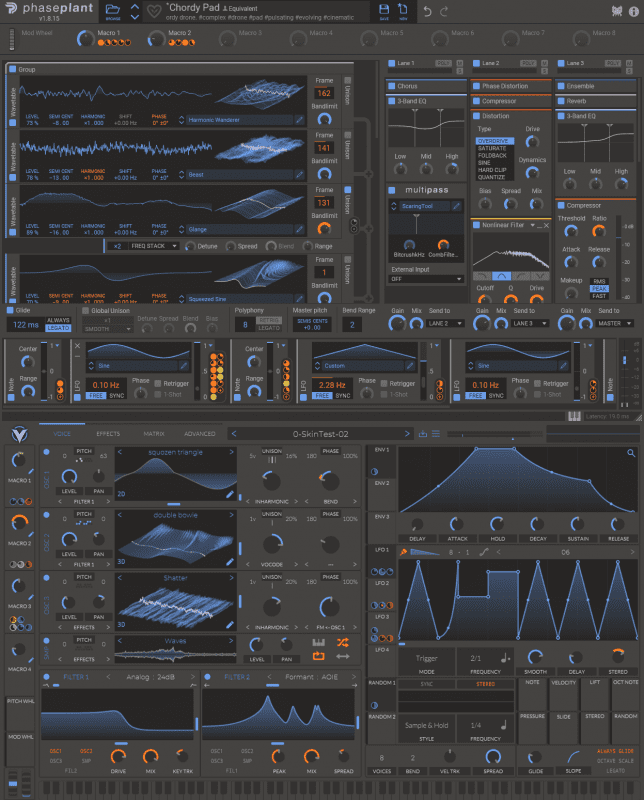
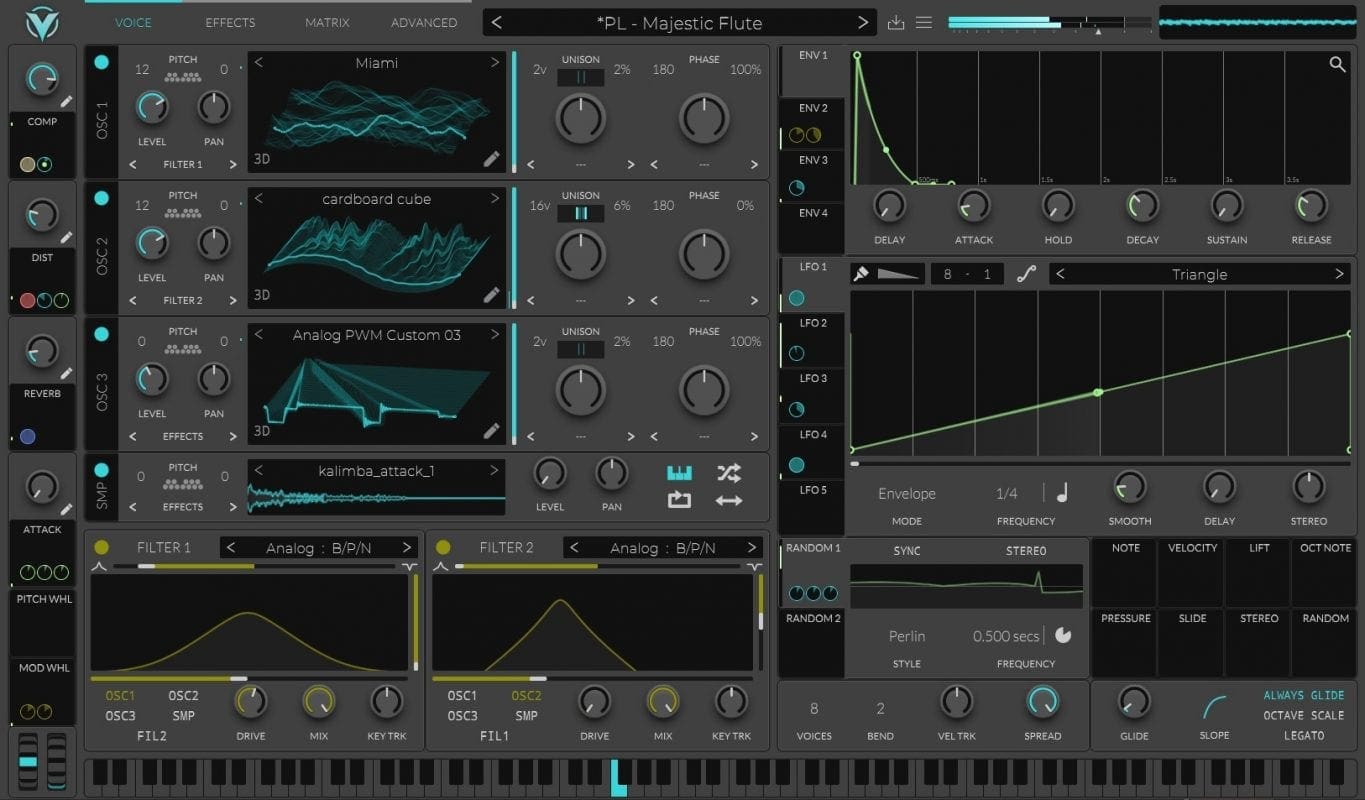
In this guide, we will show you how to make and install Vital skins.
Starting from version 1.07, Vital users now have the ability to make and install custom skins that change the look of Vital’s UI.
These custom skins are a great way to showcase your creativity, match the aesthetic of your studio, and reignite your inspir2ation!
And ever since this feature was launched, Vital users have gone crazy making all kinds of custom skins!
But with all of the free skins floating around, it can be hard to find one that really speaks to you.
So, to make things easy for you, we’ve gathered up our top five favorite free skins!
Before we begin, let’s go over how to make and install your own custom skins in Vital.
How To Install Custom Vital Skins
Before beginning, you’ll want to find and download a custom skin for Vital. We recommend checking out the list at the bottom of this post that contains our top 5 favorite skins, but any skin will do!
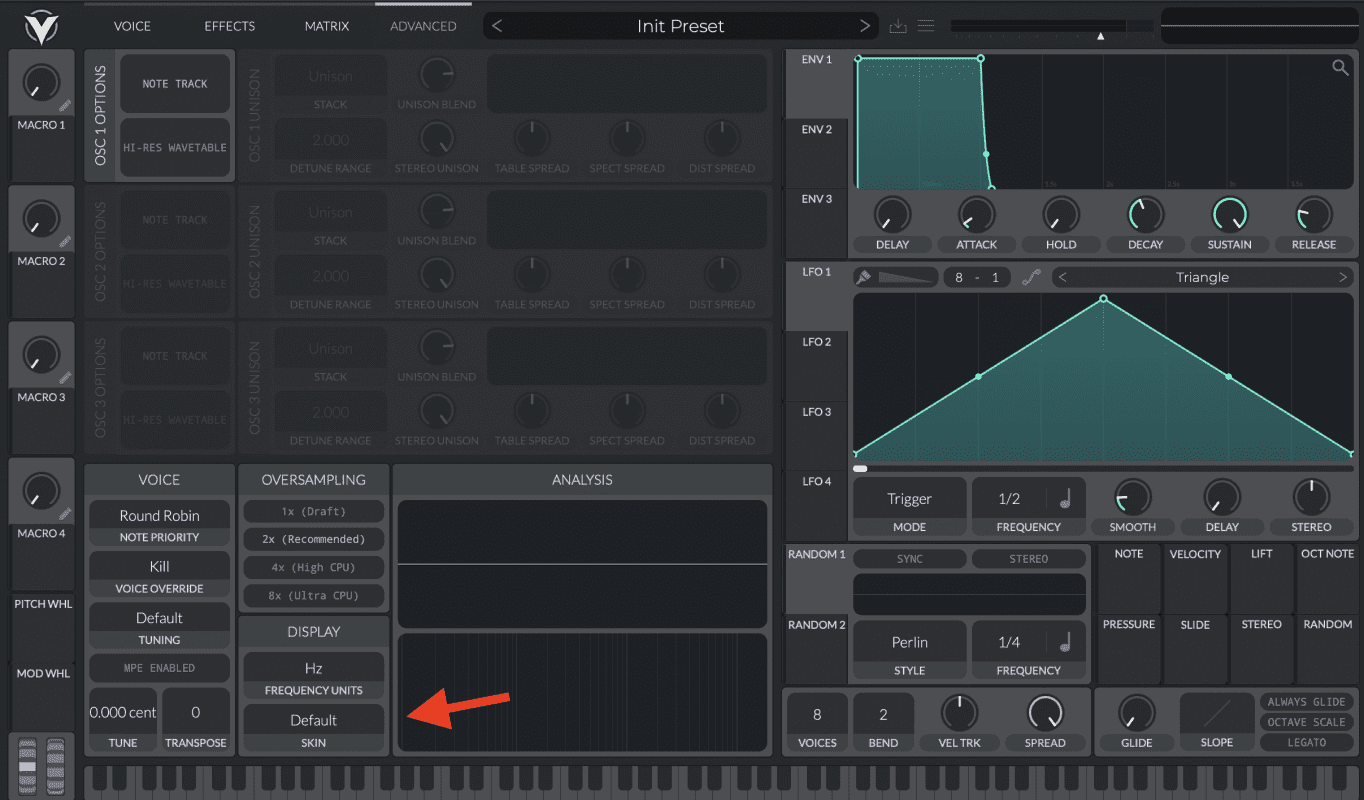
Once you’ve downloaded a custom Vital skin, all you have to do to install it is open up Vital and navigate to the Advanced Tab.
As soon as you’re there, look for the box labeled “skin”.
Click it and you’ll be presented with a menu that gives you the option to reset your skin to default or to import a custom skin into Vital.
Choose the “Load Custom Skin” option and then navigate to any skin you’ve downloaded and select it.
Once selected, Vitals UI should immediately update to the new skin!
Note: In the event that you want to go back to the default Vital skin, select the “Default” option in this menu, and Vital will return to its default skin.
How To Make Your Own Custom Skins in Vital
Downloading skins made by other people can be a lot of fun…
But making your own custom skin can be even more rewarding!
You could make a skin that matches the aesthetics of your project, studio, or even your DAW.
And thanks to Vital’s built-in skin editor, making your own Vital skins is super easy!
How To Use Vital’s Skin Editor
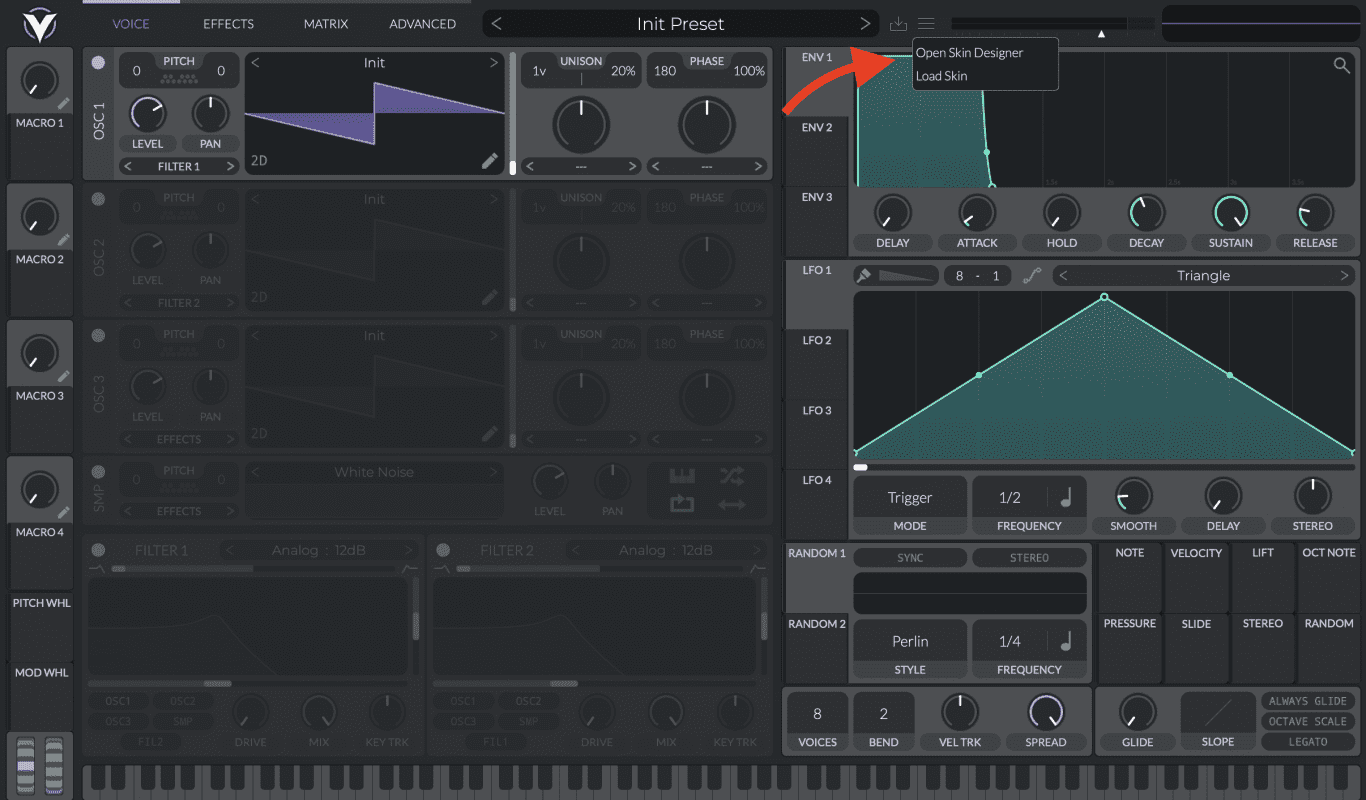
To get started on your own custom skin, just ALT + Click on Vital’s main menu icon and select the “Open Skin Designer” option.
Once selected, you should see a window pop up that looks like this:
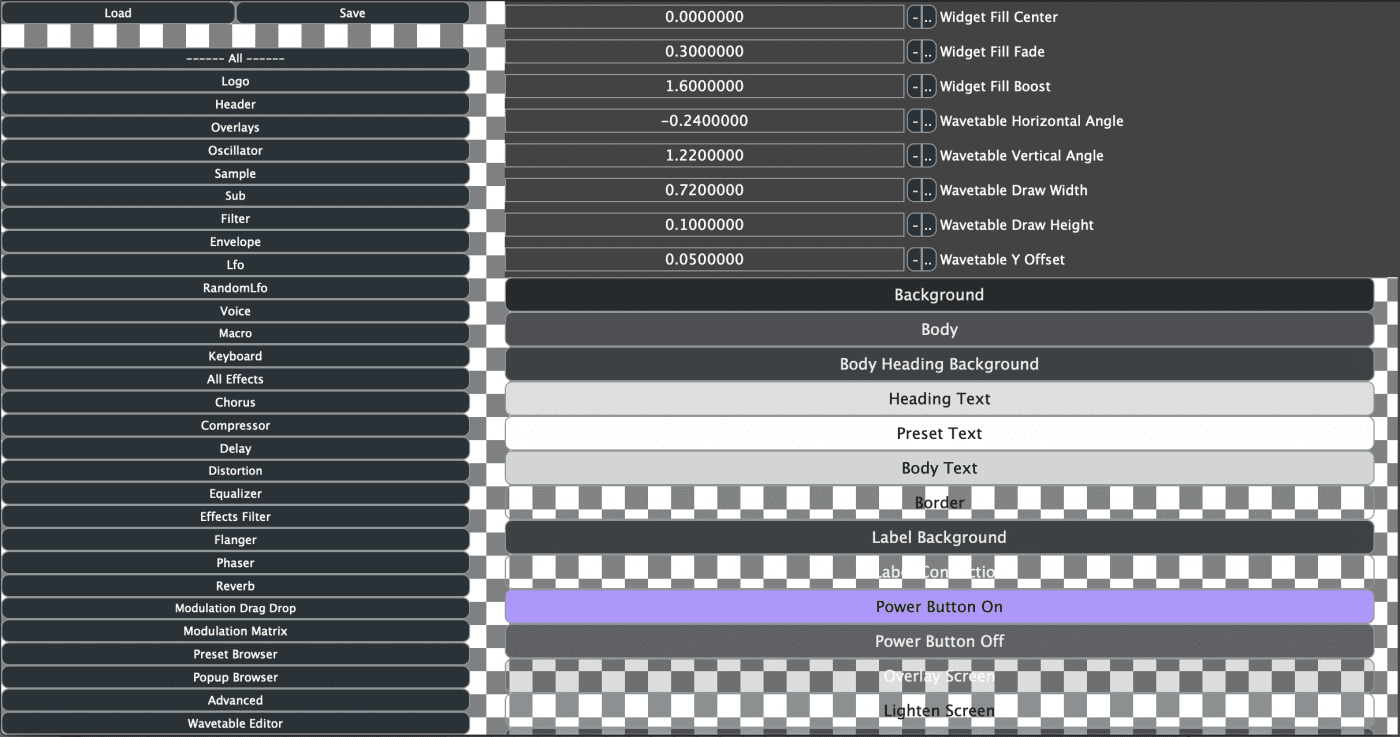
This window is the skin editor that you can use to customize Vital’s UI.
At first glance, the editor can be a bit intimidating, so we will walk you through some of the basics.
Firstly, on the left side, you can select which elements you want to edit. This breaks things up so you can edit just the Oscillators or LFO’s, for example.
Then, after you select an element, you can change its appearance by adjusting the parameters on the right-hand side. This is where you will change the color of each individual element, like the colors of the LFO shapes.
Now at this point, you can see that there are a LOT of things that you can edit with Vital’s skin editor.
So before making your own skin, we recommend going through each element and changing its settings and color to see exactly what it does.
Then, once you’ve adjusted a bunch of parameters and gotten a feel for things, just reset Vital to the default skin.
Now you’re finally ready to start working on your masterpiece!
And to help give you a starting point, here are the most commonly reached for editor controls:
Note: Controls are read as [Left Column Selection] -> (Right-hand label) – Effect
- All -> Background
Changes the main background color of Vital’s UI - Filter -> Widget Primary 1
Changes the outline color of the filters - Filter -> Widget Secondary 1
Changes the fill color of the filters - LFO -> Widget Primary 1
Changes the outline color of the LFOs - LFO -> Widget Secondary 1
Changes the fill color of the LFOs - Oscillator -> Body
Changes the main color of the oscillators - Oscillator -> Widget Primary 1
Changes the outline color of the wavetable - Oscillator -> Widget Secondary 1
Changes the fill color of the wavetable
Once you’ve created your custom skin, be sure to save it using the “Save” button in the top left corner of the skin designer!
Our Top 5 Favorite Vital Skins
#1 – Machina Skin by Black Lotus Audio
This skin was made to celebrate the release of Machina: Future Riddim for Vital. Featuring bright colors and a monochromatic background, this skin gives Vital a futuristic look that stands out!
#2 – Serum Skin by Astrotype
If you still feel more comfortable using Serum, Astrotype has your solution. This skin makes Vital look like Serum 2.0!
#3 – PhasePlant by Mesamask
This skin is so well done that it makes Vital look like one of Phase Plant’s modules. If you’re a Phase Plant fan, you’ll feel right at home using this skin!
#4 – Cyan Grey by Mioseg
This skin by Mioseg is a favorite on the Vital forums. Because of it’s simplified grey interface, this skin is clean with just the right amount of color!
#5 – Diabolic Skin by Mesamask
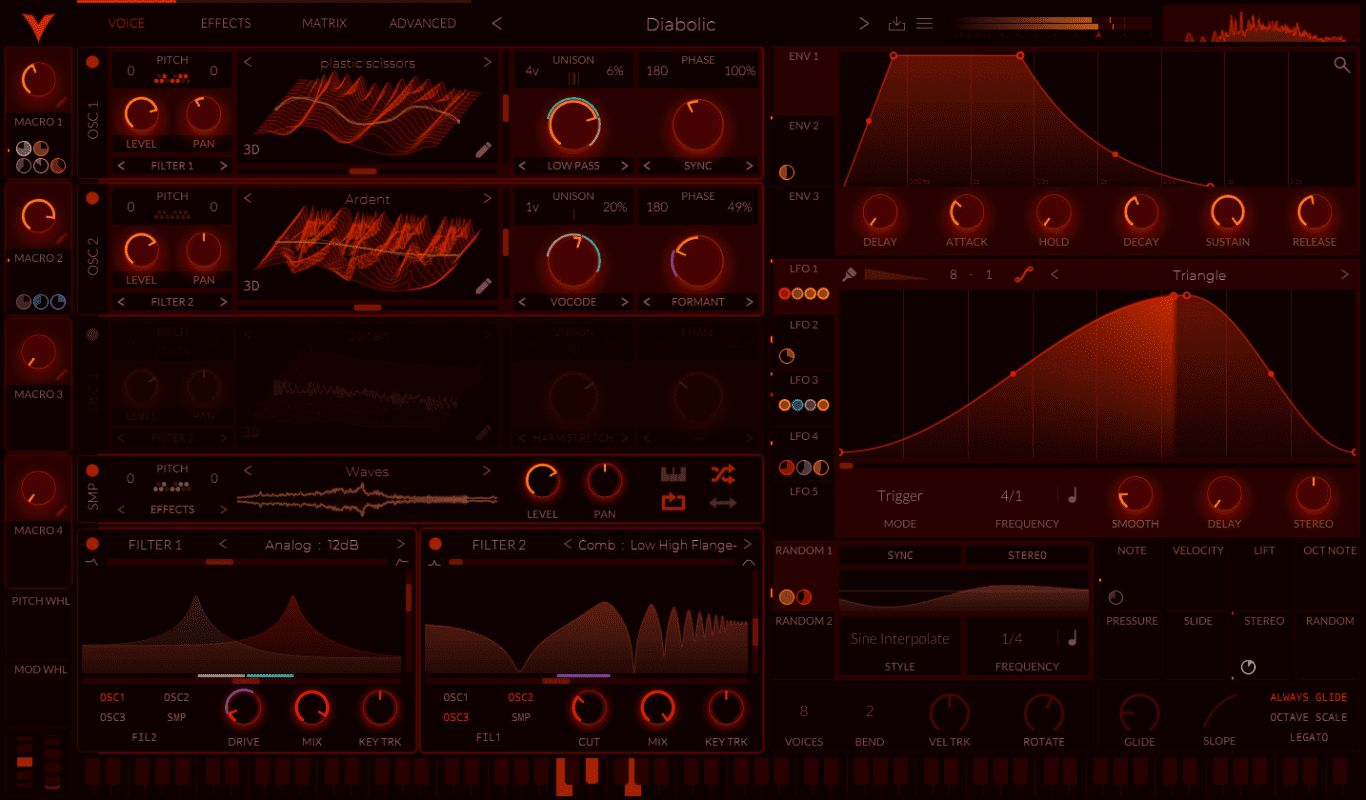
Another fantastic skin from Mesamask. This skin is significantly darker than the other skins and looks like something straight out of Mick Gordon’s hellish dreams. We love it!
Summary
To conclude, custom Vital skins are a lot of fun and can help you express your creativity as an artist.
And now that you know how to make and install Vital skins, we hope this list helps you make the most of these custom skins!
If you have a favorite skin that we should know about, be sure to send us a link to it on social media.
We will be updating this list to include more and more skins as we find them!
Save 43% With Our Ultimate Dubstep Bundle
Make bass music faster and better than ever before with 800+ professionally designed presets, samples, & wavetables.
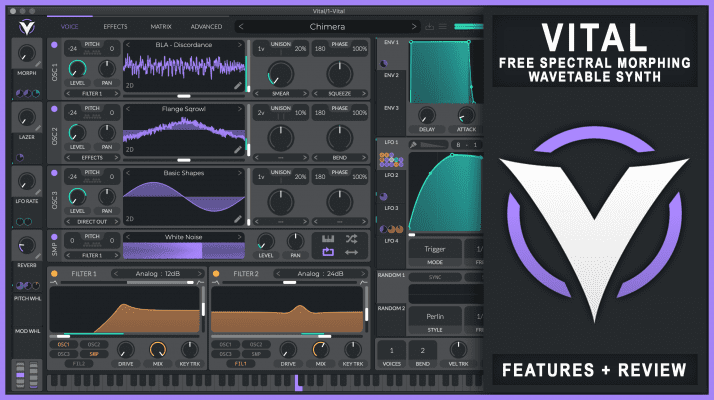
Vital Synth: Free VST by Matt Tytel | Vital Basic vs Pro, Features, & More
Learn what makes this VST stand out, the all about Vital Pro, and more!

How To Make Melodic Dubstep In FL Studio [Video Tutorial By DeliFB]
DeliFB teaches you how to make melodic dubstep using FL Studio and Vital!
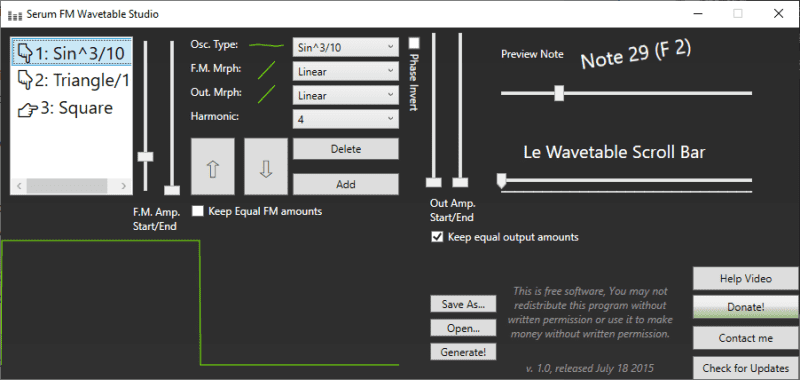
How to Make Custom FM Wavetables with Serum FM Wavetable Studio
Wavetables are an essential tool when sound designing and creating your own sounds. It is the brains and the fundamental
Share These Free Vital Skins With Your Friends

